Perhaps you’re a new boat owner, or perhaps it’s just time to polish up your boat Registration Numbers. In both cases it’s incredibly easy to get started and finish before your lunch gets cold. For this How To you’ll need about 10-20 minutes and a beginner skill level. We’ll be outlining below a few necessary tools you’ll need to get started and offer hints and tips whenever we can. Ready? Lets get started-
For today’s install we’ll need a Hard Squeegee, Soft Squeegee, Application Fluid (optional), Rubbing Alcohol, Clean Shop Rags, Wax Pencil and Masking Tape (optional). You can purchase any of these products independently, or shop Lettering on the Cheap and purchase any Vinyl product to receive a free Goof Proof Kit. The kit includes a Hard Squeegee and Application Fluid but you can alternatively upgrade to the Master Kit at checkout. Speaking of the Goof Proof, the Goof Proof Warranty ensures your Registration Numbers not only looks good when it arrives- but protects you during installation. If your Registration Numbers aren’t applied like you wanted, just give Lettering on the Cheap a call and they’ll send you another. Free of charge. Simple as that. Lets take a closer look at the tools you’ll need today.
[one_half first=”true”] [accordion] [accordion_item title=”Rubbing Alcohol” opened=”false”]Rubbing Alcohol we’ll be using this to clean and remove any dirt or grime from your surface. We use alcohol because it wipes away clean without leaving any residue! Remember, the higher the concentration the faster it will dry.[/accordion_item] [accordion_item title=”Clean Shop Rag” opened=”false”]Clean Shop Rag any form of rag will do, however ones that produce very little lint are best. We’ll be using our rags to clean our surface or wipe away any application fluid we spray (if we choose to apply the decal wet!)[/accordion_item] [accordion_item title=”Wax Pencil” opened=”false”]Wax Pencil these come in a variety of colors depending on the surface you are marking. What makes them great, is how easily they wash off most surfaces with as little as water.[/accordion_item] [/accordion] [/one_half] [one_half last=”true”] [accordion] [accordion_item title=”Hard Squeegee” opened=”false”]Hard Squeegee we’ll be using these during application. Best for use when your decal or lettering still has masking tape applied, as it applies force but won’t damage your design.[/accordion_item] [accordion_item title=”Soft Squeegee” opened=”false”]Soft Squeegee for pressing against exposed vinyl that has been applied to a surface. Often, we’ll use a soft squeegee to follow up on decals and remove any bubbles or wrinkles.[/accordion_item] [accordion_item title=”Masking Tape” opened=”false”]Masking Tape this isn’t always necessary, but if you intend to apply your decal using the ‘Hinge Method’ To hold up typically large decals or lettering prior to being applied.[/accordion_item] [/accordion] [/one_half] [accordion] [accordion_item title=”Application Fluid” opened=”true”]Application Fluid this gives us the freedom to apply and remove the vinyl multiple times prior to the decal securing itself to the surface. This is incredibly important when working with a design, especially if you’re new to applying vinyl or simply are working with a large design.[/accordion_item] [/accordion] [gap height=”10″]Getting Started, Applying your Registration Numbers
Now that you have your tools and the Registration Numbers you’re going to apply, the first thing to do is determine where you’re applying your vinyl. If you’re applying your Registration Numbers over old vinyl, we suggest taking off the old Registration Numbers first and cleaning the area thoroughly. You can check out a really great tutorial on this, here. Or, if you’re applying Registration Numbers for the first time you can check out this tutorial on marking your surface with a wax pen.
Step 1
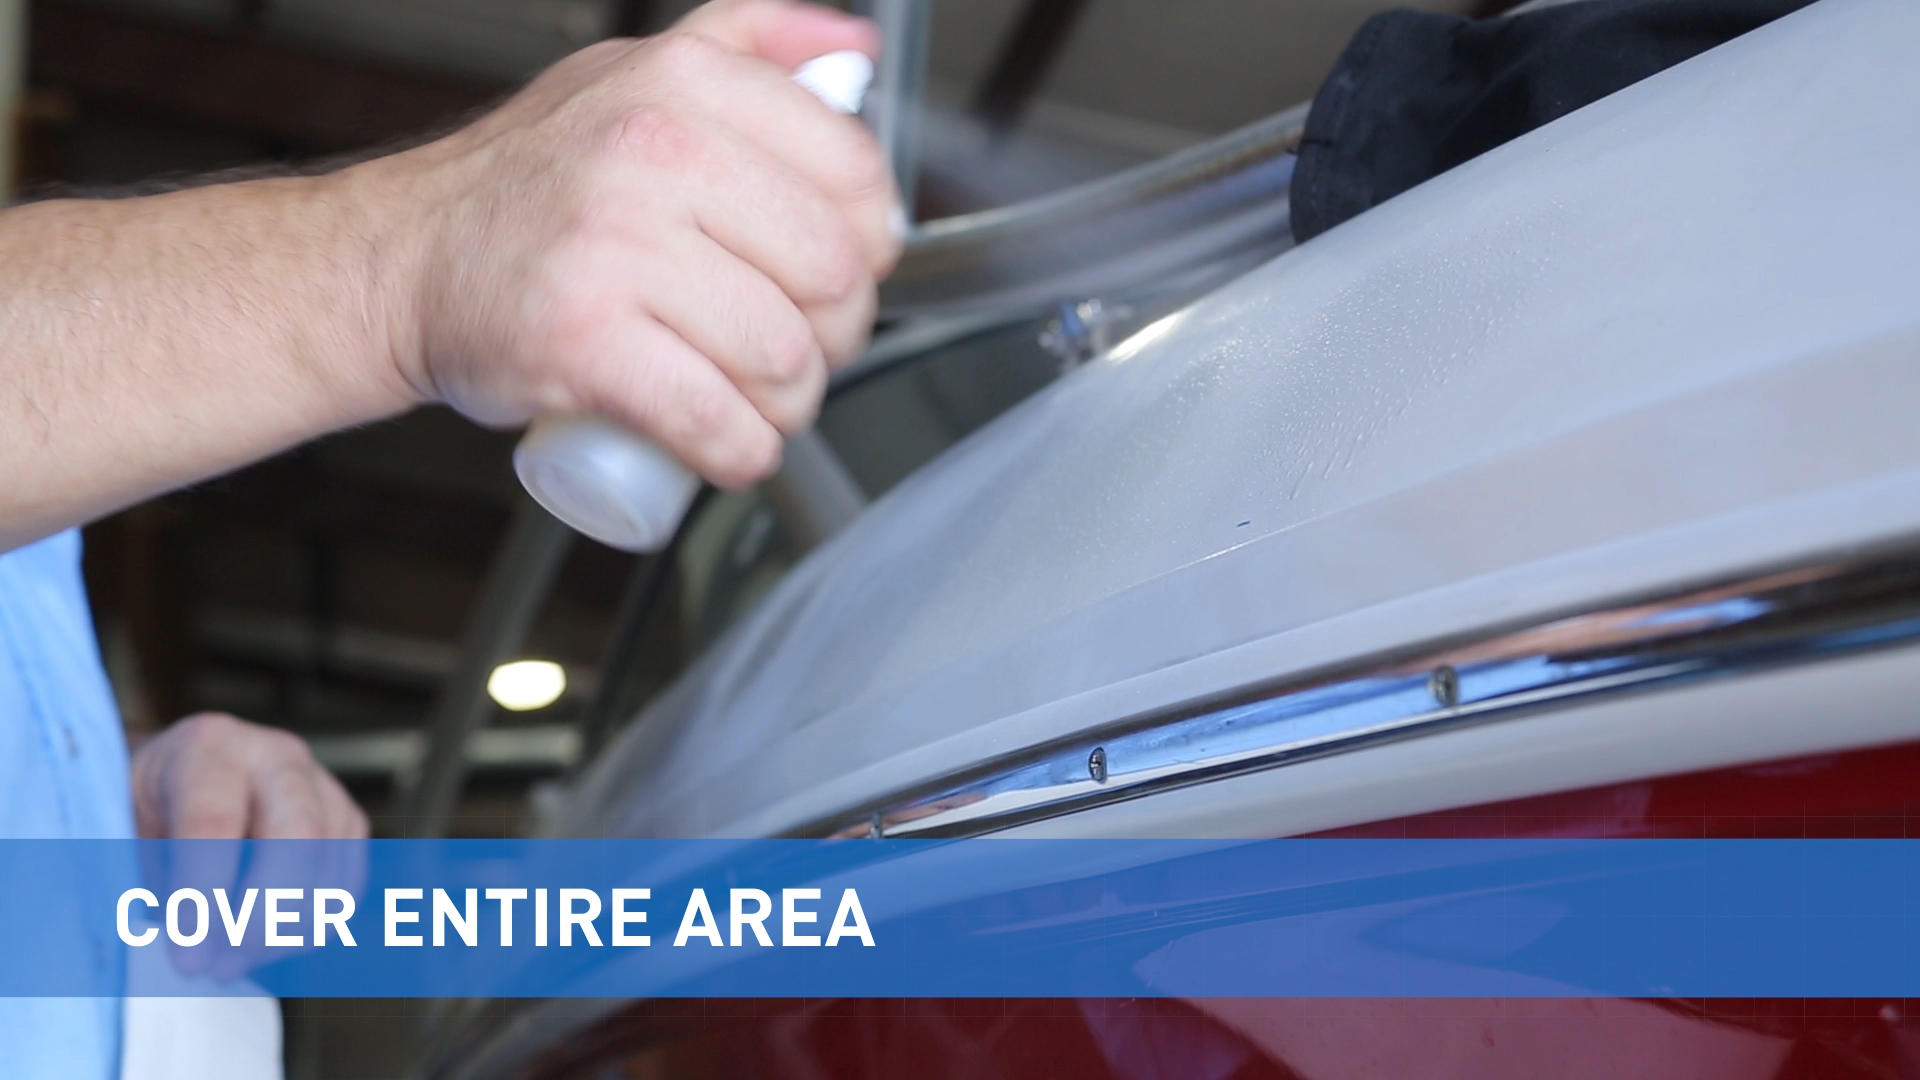
The first step to applying your Registration Numbers is to cover your work area with a mist of application fluid. You cannot put too much application fluid on your work area- however, it will increase the amount of dry time later in the application. This step however is optional, as you can apply the Registration Numbers on your boat dry! Though this will increase the difficulty of the application.
Step 2

Next you will want to remove the Registration Numbers from the masking tape, by pulling on the vinyl paper more than the tape itself. Pull the paper halfway through your design, leaving the other half concealed by the masking tape. You may choose to optionally tear off the part you have removed if the tape is getting in your way.
Step 3
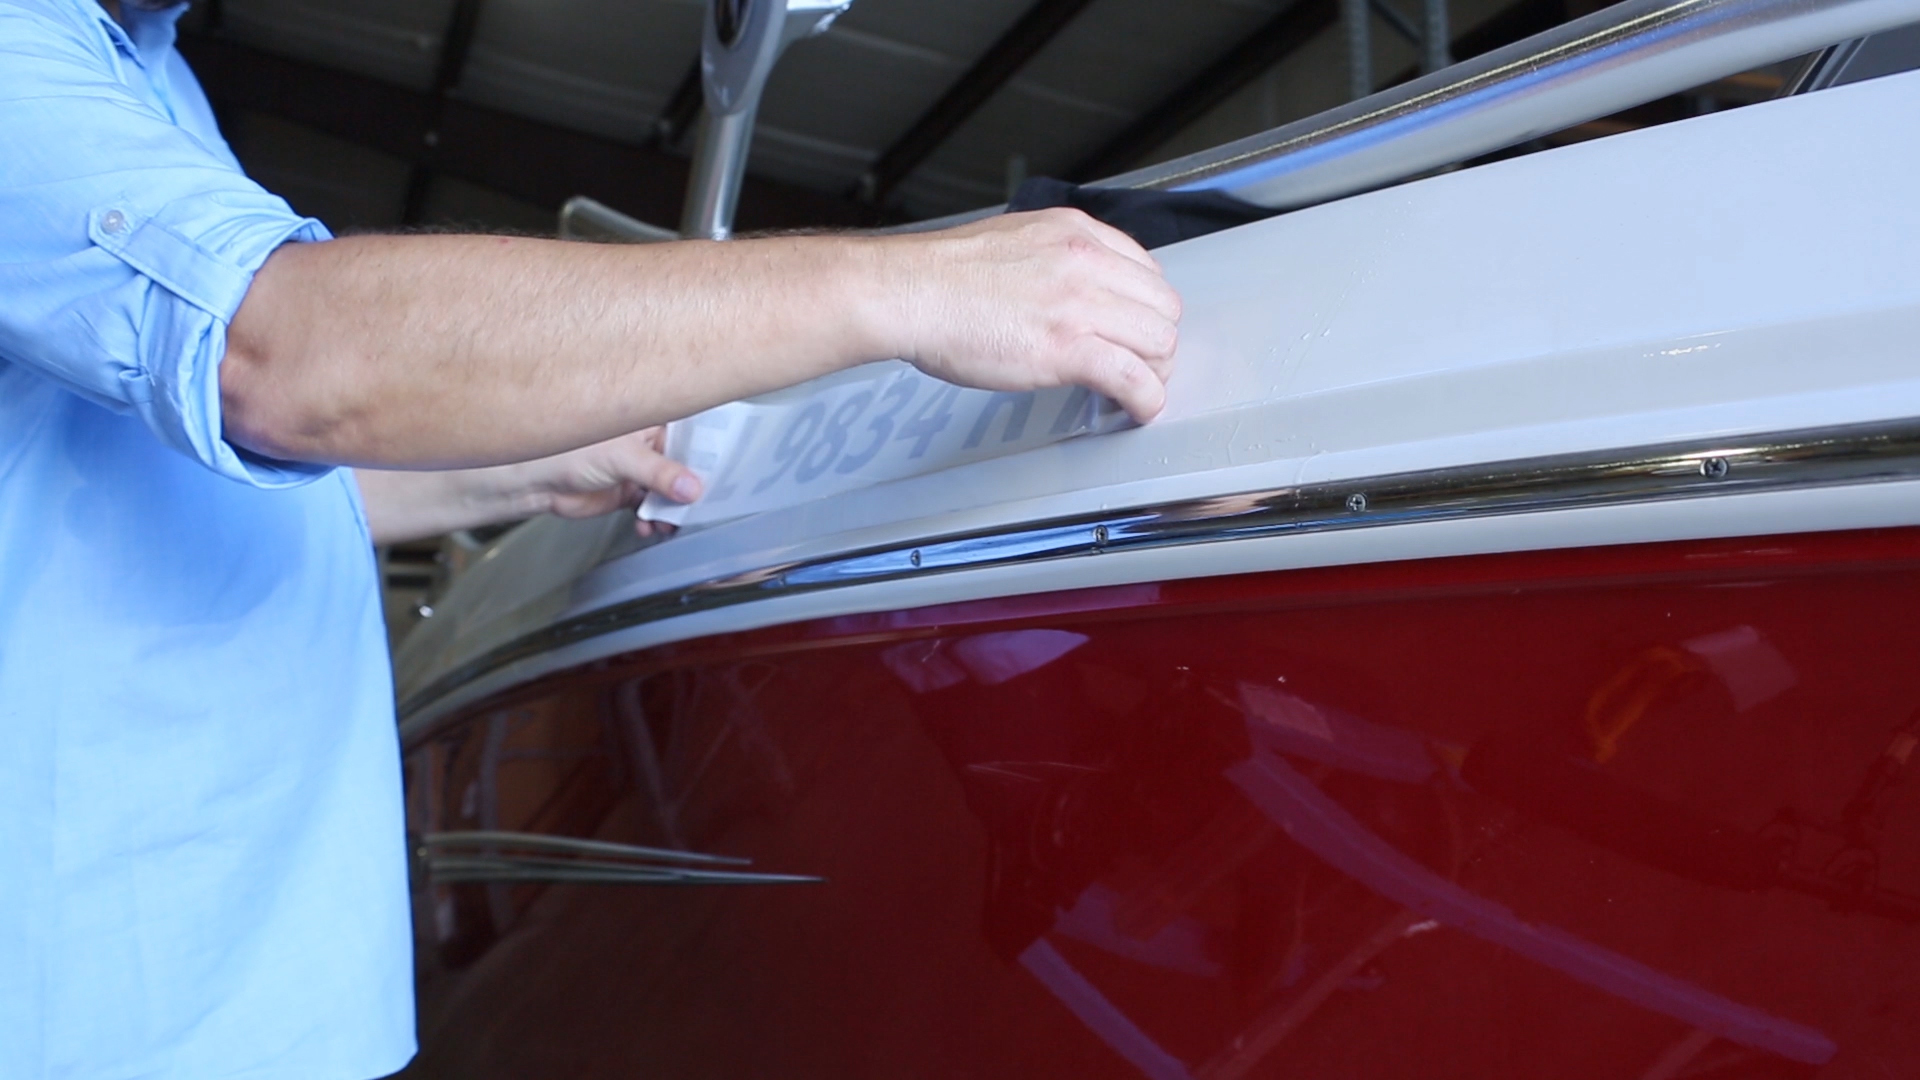
Now, you will either center the design based on your best judgement or, using wax lines you’ve previously learned about in the Measuring using Wax Lines tutorial we’ll be matching up the lines on your Registration Numbers with the lines we’ve marked on your boat. Once you’ve aligned your design and applied the first half onto the surface, feel free to pull away the last half of the design paper from the masking tape and gently smooth the remainder onto your surface. If you’ve used Application Fluid, you will have some forgiveness if you need to pull the Registration Numbers back up and readjust its position.
Step 4

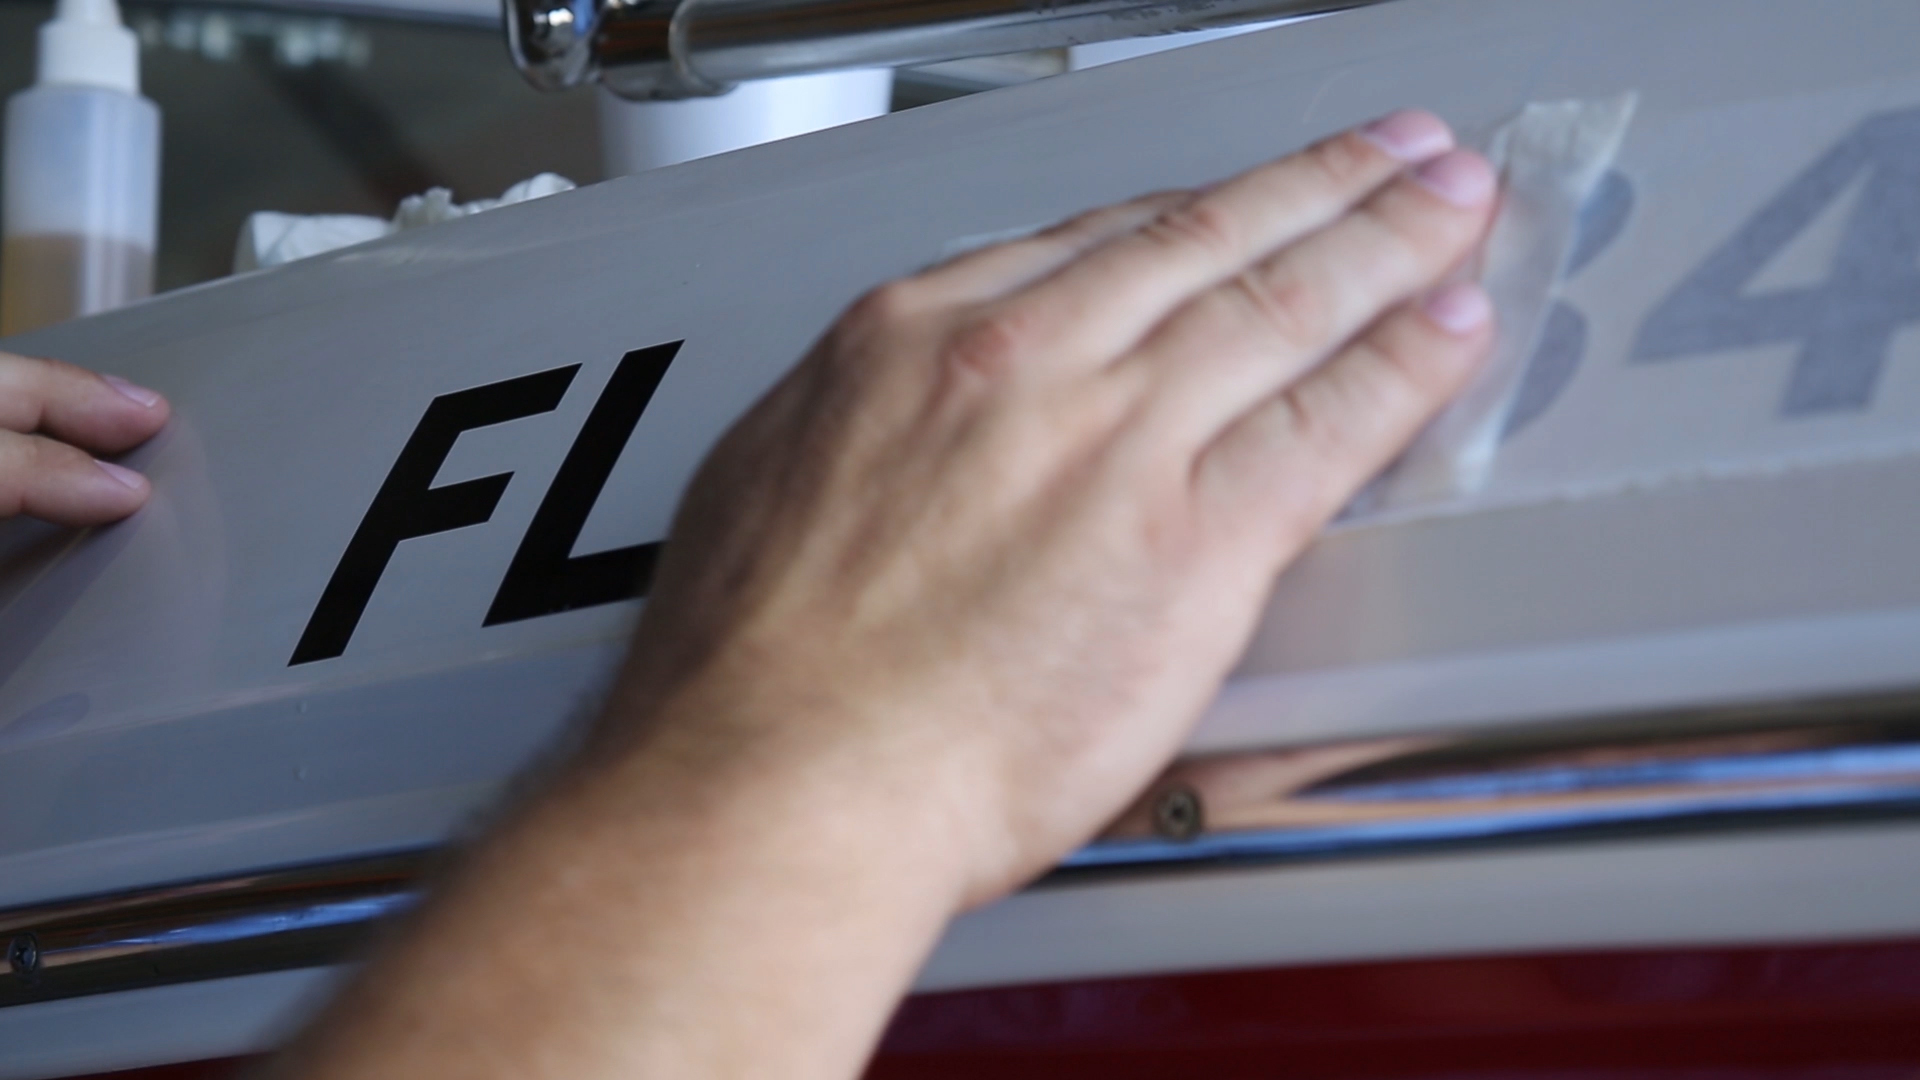
Using a hard squeegee you will want to smooth out the Registration Numbers by pressing gently from the center out. The goal is to remove as much application fluid or bubbles from the design before it sets on your surface. If you have have used application fluid you should wait some amount of time (as little as 5 minutes) before checking to see if your Registration Numbers are beginning to stick. Do not remove the tape if the vinyl is not sticking to your surface. Now is a great time to grab a coffee or eat a bagel as you wait on the vinyl to properly adhere.
Step 5
How you remove the tape from the Registration Numbers is very important. Do not pull the masking tape away from your surface, but instead pull along the surface of your surface to reduce stress on your newly applied Registration Numbers. First, start by pulling on a corner of your masking tape and apply a slow steady pressure. Once the masking tape has been removed, feel free to use alcohol to remove the wax pencil marks on your surface. If you notice any further bubbles under your vinyl, use a Soft Squeegee to gently smooth the vinyl out. Do not use the hard squeegee, as this may damage your design.
Further Tips
Don’t worry too much if you cannot remove every bubble in the design. After a few hours or days most of the bubbles will work themselves out of the design naturally.